After turning on a Leupold GX2i pressing the power button, you have to set your device to your target. A buzz sound will ensure that the target has been locked. Again pressing the power button will give you the distance and other measurements.
How to Use Leupold GX2i Golf Rangefinder
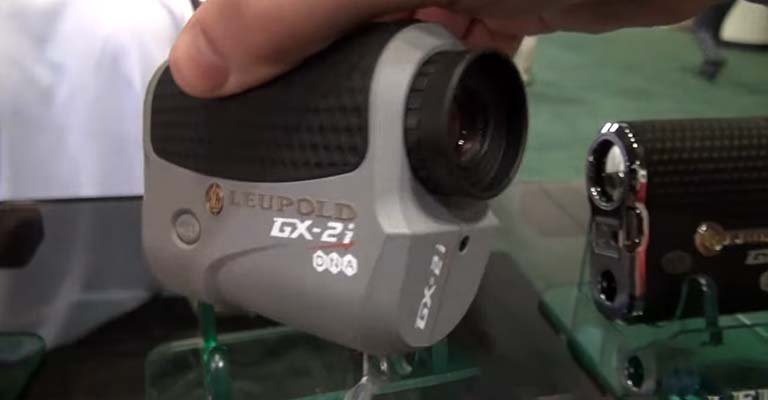
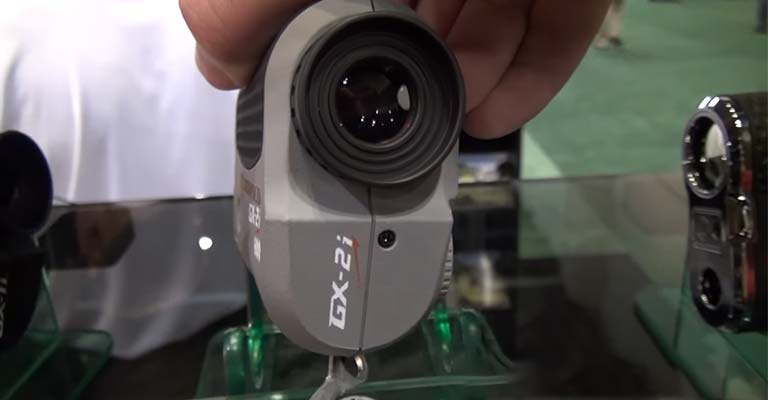
Leupold is an American company that mainly innovates and manufactures survey equipment and devices. GX2i is their first golf rangefinder device with unique features like TGR, fog mode reticular, etc.
How Does It Work
You need to turn on your device and aim to target and activate the rangefinder to get the yardage. The question is, how does the Leupold GX2i rangefinder device function?
The Leupold GX2i rangefinder emits an infrared laser reflected off the target back to the optical unit. Its precision computing circuits measure the distance instantly by calculating the time it takes to travel from the device to the target.
Safety and Precautions
Before using the device, you should know about some precautions and take some safety measurements. GX2i employs an eye-safe FDA class 1 laser in its operation. Still, some precautions need to be remembered:
- Do not press the power button while aiming at a human eye
- Do not leave the device near to the children.
- Do not attempt to use any power source other than a CR-2 battery.
- Do not take the product apart. As it has a self-protection module inside the device, you may get an electric shock.
Specifications
GX2i digital laser rangefinder device gives us various useful modes to tailor its performance to the level you experience in the field. The usage of modes and features are as below:
Quick set Menu
GX2i has two buttons, “Power” and “Mode.” When you push the power button, the display activates, and the device is ready for ranging. Press the power button again to scan.
When you press and hold the mode button for 1 second, then release it, the Quick Set Menu is ready for navigation. To set or activate a mode, you must advance to that function by pressing the mode button until that function is displayed.
Press the power button to activate a mode, the icon will display steadily, and the word “On” will appear in the bottom portion of the display. Again, pressing the power button will turn that mode off, displaying the word “OFF” in the display.
Pressing the Mode for at least 1 second will exit the Quick set menu, save previous changes and prepare the device for immediate use. Hold the Power and Mode button simultaneously for at least 10 seconds to reset the factory settings.
Using Prism Lock
These prisms provide your rangefinder with an intense return signal, allowing it to lock onto the prism quickly and provide instant feedback that you have accurately ranged the intended target.
Scan mode uses to range a course with integral prisms. You can see a lock icon on display and hear a beep. Prism Lock is always activated and will detect prisms in the course at a distance of 25 yards or greater.
Fog Mode
The Fog Mode is for foggy/rainy conditions to screen out false readings from raindrops, fogs, or other atmospheric interference to provide an accurate range measurement. It helps you even in not-so-clear weather.
How to Activate Fog Mode
- Press the Power button to activate the rangefinder.
- Press and hold the Mode button for at least 1 second to enter the Quick Set Menu; release the Mode button, the word “Fog” will appear in the upper display.
- When you see the word “Fog” in the display, press and release the Power button as necessary until the word “On” is displayed in the lower portion.
- To save the changes and return to ranging mode, let the unit sit idle for at least 20 seconds until an automatic power-down occurs, or simply press and hold the Mode for at least 1 second.
True Golf Range (TGR)
TGR is an adjusted range for uphill shots that play long and downhill shots that play short. It calculates from incline or decline and current temperature and altitude. TGR will display the adjusted range the golfer should play.

How to Activate TGR
- Like the previous one, enter the menu; press and release the Mode button one more time to advance to TGR mode.
- While the TGR icon is displayed, press and release the Power button as necessary until you see “ON” in the lower portion of the display and the rest be the same as the Mode discussed earlier.
Current Temperature Input
Temperature is one of the factors used to determine TGR ranges; inputting the current temperature will increase the accuracy of your TGR measurement. The default temperature setting is 75°F.
How to Manually Input the Current Temperature
- After entering the menu, make sure to turn on the TGR.
- Press and re-release the Mode button; the last saved temperature will be flashing in the lower portion of the display.
- Press and release the Power button to change the current temperature setting to match the current conditions.
- Save the changes.
Altitude Input
Altitude is one of the factors used to determine TGR ranges; inputting the local elevation/altitude will increase the accuracy of your TGR measurement. The default altitude setting is 1000 feet.
How to Input Altitude
- Ensure the TGR is on.
- Press and re-release the Mode button, and the last saved current altitude will be flashing.
- Press and release the Power button to change the current altitude setting to match existing conditions and save the changes.
Maintenance
- Blow away dust and debris from the lenses, or you can use a soft lens brush.
- To remove fingerprints or stricter dirt, you can use wet cotton clothes. Don’t worry; this device is waterproof.
- If your battery runs out, take out your exhausted battery and insert a new CR-2 battery.
Conclusion
Knowing the proper way to use the device will increase the lifespan along with outstanding performance. Make sure to charge your device before you use it and turn it off after finishing your work.
Also Read-
Leave a Reply